Delicious Red Velvet Cake Recipe
Get ready to indulge in the rich flavors of a classic American dessert, the red velvet cake. It has a unique red color and a subtle cocoa flavor. This moist and flavorful cake has been a staple in American bakeries for decades. Now, you can make a delicious homemade red velvet cake from scratch using simple ingredients and easy-to-follow instructions.
Imagine sinking your teeth into a tender, fluffy slice of the best red velvet cake recipe. It’s made with love and care in the comfort of your own home. Whether you’re a beginner or an experienced baker, this recipe is perfect for anyone looking to impress their friends and family with a classic American dessert, like a homemade red velvet cake.
With this recipe, you’ll learn how to make a delicious red velvet cake that’s sure to become a favorite. So, let’s get started and uncover the secrets to making the perfect red velvet cake, using the best red velvet cake recipe.
Table of Contents
Key Takeaways
- You can make a delicious homemade red velvet cake from scratch using simple ingredients.
- The best red velvet cake recipe requires easy-to-follow instructions.
- A homemade red velvet cake is perfect for impressing friends and family.
- This recipe is suitable for both beginner and experienced bakers.
- The red velvet cake has a unique red color and subtle cocoa flavor.
- You’ll learn how to make the perfect red velvet cake using this recipe.
The History Behind Red Velvet Cake
Exploring classic red velvet cake takes you back nearly a century. It started as a simple velvet cake in the early 20th century. Over time, it became a favorite in American bakeries.
To make an easy red velvet cake, knowing the right red velvet cake ingredients is key. The recipe uses flour, sugar, and cocoa powder. These ingredients give the cake its unique taste and color. The history shows that these ingredients have stayed the same, with slight changes in amounts and methods.
Here are some key facts about the history of red velvet cake:
- Origins: The cake originated in the United States in the early 20th century.
- Evolution: The recipe evolved over time, with different bakeries and chefs adding their own twist to the traditional recipe.
- Popularity: Red velvet cake gained popularity in the 1980s and 1990s, becoming a staple in American bakeries and restaurants.
Today, you can find many versions of red velvet cake. Some stick to the classic red velvet cake with cream cheese frosting. Others try new flavors and ingredients. But the core ingredients and method stay the same, making it simple to make an easy red velvet cake at home.
Essential Ingredients for the Perfect Red Velvet Cake
To make a delicious red velvet cake, you need the right red velvet cake ingredients. These include flour, sugar, cocoa powder, and buttermilk. High-quality ingredients are key for the perfect flavor and texture. If you’re short on time, a red velvet cake mix is a convenient alternative.


Here are some key ingredients to keep in mind:
- 2 cups of all-purpose flour
- 1 cup of granulated sugar
- 2 teaspoons of cocoa powder
- 1 cup of buttermilk
You can also customize your recipe. Try different sugars or add a pinch of salt to balance the flavors.
When using a red velvet cake mix, follow the instructions carefully. Add eggs and oil as required. This will help you make a moist and flavorful cake. With the right red velvet cake ingredients and practice, you’ll create a stunning cake that will impress everyone.
| Ingredient | Quantity |
|---|---|
| Flour | 2 cups |
| Sugar | 1 cup |
| Cocoa powder | 2 teaspoons |
| Buttermilk | 1 cup |
Kitchen Tools and Equipment You’ll Need
To bake a tasty red velvet cake with cream cheese frosting, you need the right tools. A well-stocked kitchen makes baking easier and more fun. You’ll start with basic tools like a mixing bowl, whisk, and measuring cups.
Frosting is key for a red velvet cake. For a creamy frosting, you’ll need a mixer and a pastry bag. These tools help you make a frosting that’s smooth and perfect for your cake.
Must-Have Baking Tools
- Mixing bowl
- Whisk
- Measuring cups
- Mixer
- Pastry bag
Optional but Helpful Equipment
While not necessary, a stand mixer and pastry brush can be very helpful. They make baking faster and easier, saving you time and effort.
Preparing Your Workspace
Preparing your workspace is key for a smooth baking process. Set up your ingredients and tools, and keep your area clean and organized. This way, you can focus on making a delicious cake that will impress everyone.
| Tool | Description |
|---|---|
| Mixing Bowl | Used to mix cake batter and frosting |
| Whisk | Used to whisk together ingredients |
| Measuring Cups | Used to measure ingredients accurately |
Making Your Red Velvet Cake From Scratch
To make a delicious homemade red velvet cake, start by preparing the batter. Mix together flour, sugar, and cocoa powder. Add eggs, buttermilk, and food coloring for the right color and texture. Using high-quality ingredients and following the recipe carefully is key for a light and fluffy cake.
Here are some tips for preparing the batter:
- Use room temperature ingredients for smooth mixing.
- Avoid overmixing to prevent a dense cake.
- Combine cocoa powder and food coloring for the perfect red color.
Once the batter is ready, pour it into a greased and floured cake pan. Bake at 350°F for 30-35 minutes, or until a toothpick inserted in the center comes out clean. With these tips, you’ll make a delicious homemade red velvet cake that will impress everyone.
By following these steps and using the right ingredients, you can make a moist and delicious easy red velvet cake. Whether you’re an experienced baker or just starting, making a homemade red velvet cake is a fun and rewarding experience. It’s sure to become a favorite hobby.
| Ingredient | Quantity |
|---|---|
| Flour | 2 cups |
| Sugar | 1 cup |
| Cocoa powder | 1/2 cup |
Creating the Classic Cream Cheese Frosting
To make a delicious red velvet cake with cream cheese frosting, start with quality ingredients. Use real cream cheese, unsalted butter, and pure vanilla extract. Make sure your ingredients are at room temperature for a smooth frosting.
Beat the cream cheese and butter until they’re smooth. Then, add vanilla extract and any other flavors you like. Aim for a frosting that’s spreadable but not too thin. This makes frosting your cake easy and gives it a beautiful finish.
Here are some tips for frosting your red velvet cake with cream cheese frosting:
- Make sure your cake is completely cooled before frosting.
- Use a turntable to spin your cake and access all sides easily.
- Apply a thin layer of frosting to the cake and refrigerate for about 10 minutes to set the frosting.
- Use a frosting knife or offset spatula to create a smooth, even finish.
By following these tips and using high-quality ingredients, you can create a delicious and beautiful red velvet cake with cream cheese frosting. The moist red velvet cake and tangy cream cheese frosting are a perfect pair. With a little practice, you can make a stunning cake for any occasion.
The red velvet cake frosting is a key part of the cake. Making it from scratch makes your cake truly special. Whether it’s for a birthday, wedding, or other celebration, a red velvet cake with cream cheese frosting will impress everyone.
| Ingredient | Quantity |
|---|---|
| Cream Cheese | 8 ounces |
| Unsalted Butter | 1/2 cup |
| Vanilla Extract | 1 teaspoon |
Decorating Your Red Velvet Masterpiece
Now that your red velvet cake is baked and frosted, it’s time to add the final touches. Decorating your cake can be a fun and creative process. With a few simple techniques, you can create a beautiful and professional-looking red velvet cake. Make sure you have the best red velvet cake recipe and the right tools for the job.
When decorating your red velvet cake, keep a few key techniques in mind. First, make sure your cake is completely cooled and frosted. Then, use a turntable to spin your cake and access all sides easily. You can also use a cake stand to display your cake and make it easier to decorate.
Basic Frosting Techniques
To create a smooth and even surface, use a offset spatula to spread the frosting evenly. You can also use a piping bag to create borders and designs. For a more professional look, use a frosting smoother to create a smooth and even surface.
Professional Finishing Touches
To take your red velvet cake to the next level, consider adding some professional finishing touches. You can use a piping bag to create intricate designs and patterns, or add some fresh flowers or nuts to give your cake a personal touch. With a little practice and patience, you can create a beautiful and delicious red velvet cake that’s sure to impress.
Garnishing Ideas
Some popular garnishing ideas for red velvet cake include fresh flowers, nuts, and sprinkles. You can also use a writing tip to write messages or names on your cake. Whatever you choose, make sure it’s something that complements the flavor and texture of your cake, and that fits with the overall theme and design of your red velvet masterpiece.
Troubleshooting Common Red Velvet Cake Issues
Making a red velvet cake can sometimes lead to problems, even with great recipes and techniques. You might face texture issues, color problems, or frosting challenges. We’ll offer solutions and tips to help you fix these common problems.
Choosing the right ingredients is key for a perfect cake. If your cake’s texture is off, try tweaking the flour to liquid ratio in your recipe. This can make your cake moist and tender.
Texture Problems and Solutions
- Overmixing: Mix your batter just until the ingredients are combined, then stop mixing to avoid developing the gluten in the flour.
- Incorrect oven temperature: Ensure your oven is at the correct temperature, as an oven that’s too hot or too cold can affect the texture of your cake.
Color Consistency Tips
To get the signature red color, use the right food coloring. Adding a bit more cocoa powder can also boost the color and flavor.
Frosting Fixes
Having frosting issues? Try adjusting the cream cheese to butter ratio or add more powdered sugar for the right consistency. With these tips, you’ll master making a stunning red velvet cake.
| Issue | Solution |
|---|---|
| Texture problems | Adjust the ratio of flour to liquid ingredients |
| Color consistency issues | Use the right type and amount of food coloring |
| Frosting troubles | Adjust the ratio of cream cheese to butter |
Serving and Storage Tips for Your Perfect Slice
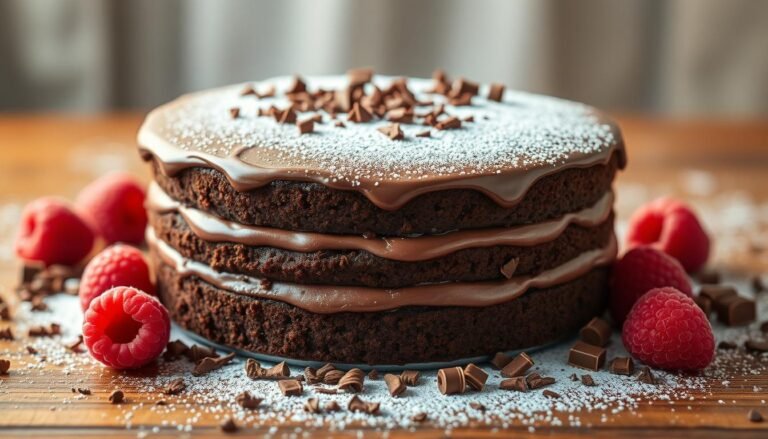
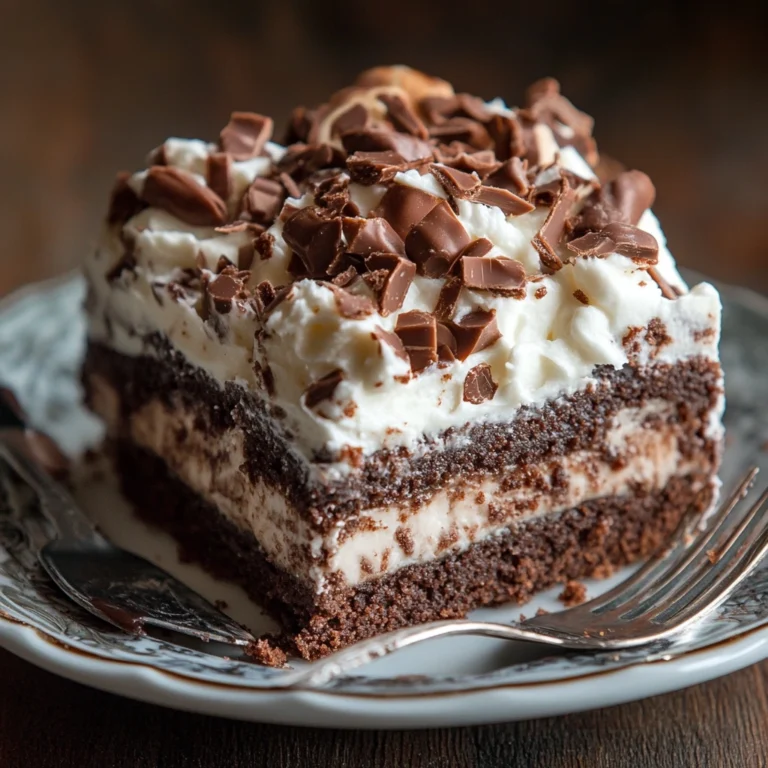
Your red velvet cake is finally ready! Slice it into generous portions with a sharp knife. Use a gentle sawing motion for clean, even cuts. Serve it on a beautiful platter or plate, maybe with powdered sugar or fresh raspberries for a touch of elegance.
To maintain freshness, store your cake in an airtight container at room temperature. You can also turn leftovers into cake pops or crumble it for a trifle. For longer storage, wrap it tightly in plastic wrap or foil and freeze for up to 3 months. Simply thaw it in the fridge before serving.
Your red velvet cake is perfect for any occasion or just a sweet treat. It’s sure to delight your taste buds and impress your guests. Enjoy every bite and indulge in this classic American dessert.


